How to Take the Slide Off an Airsoft Gun
How to Take the Slide Off an Airsoft Gun

- Yard&M Xtreme45 airsoft Disassembly 11 steps

Grammar Police
Comprehend your inner English teacher and help ameliorate this guide's grammer!

Fellow member-Contributed Guide
An awesome fellow member of our customs made this guide. Information technology is not managed by iFixit staff.

Better Introduction
Meliorate this guide past completing or revising its introduction.
Introduction
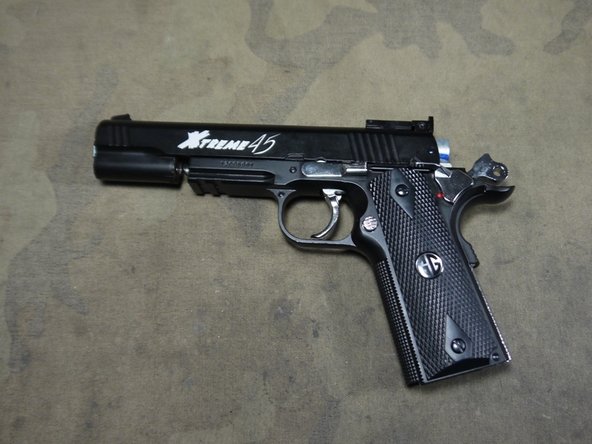
This guide will evidence how to detach the Xtreme45 and allow you to access all major parts groupings. If you wish to only detach a particular role or section yous may desire to skip item steps.
-
-
Brainstorm disassembly by removing the small-scale Phillips screws on either side of the slide.
-
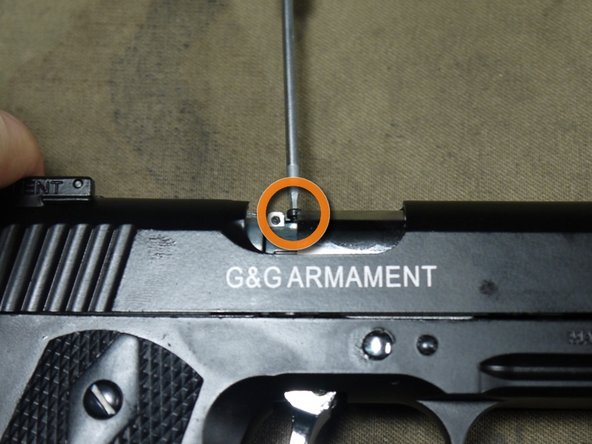
Remove the i.5mm Hex screw just above the correct side Phillips.
-
-
-
Pull the hammer back until it locks into position.
-
Accept the back piece shown out of the rear of slide.
-
-
-
Loosen the sight screw and then the rear sight does non get caught on anything.
-
Make sure the Hop Up adjustment screw isn't so loftier that it can prevent the slide from coming off.
-
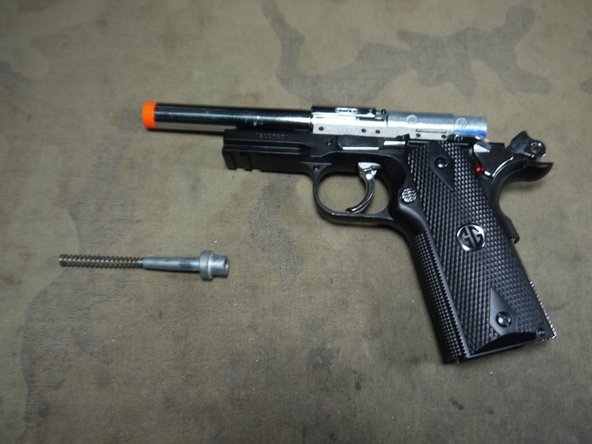
At present, you lot can push button the slide frontwards and off the receiver.
-
-
-
With the slide removed you can take the spring and leap guide off.
-
-
-
At present to remove the valve body.
-
Start past pushing out the pins shown with a punch tool.
-
When the pins are role of the way out y'all tin grab them with pliers.
-
-
-
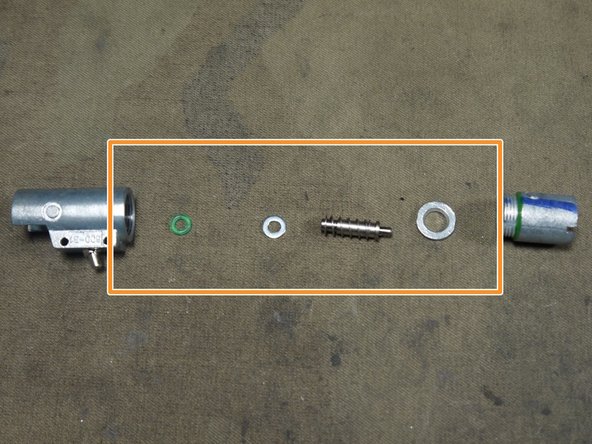
With the pins removed the valve body can be pulled out.
-
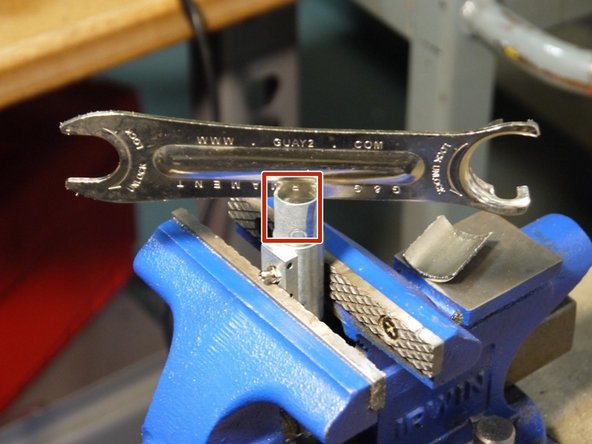
If you wish to further disassemble information technology you lot can unscrew the department shown.
-
This can be done past taking a long flat piece of metallic and use information technology like a apartment caput screw driver. The best style to concord the other half is with a vice. Try to avert using anything that will exit a mark or bend the metal.
-
Once the cap piece has been removed the post-obit piece can be found inside.
-
-
-
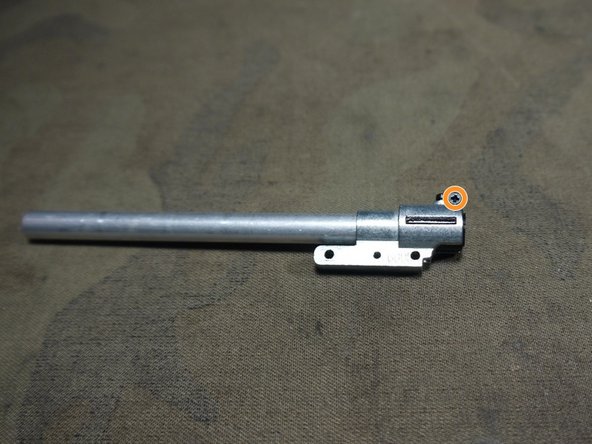
To remove the butt start by removing the post-obit pins.
-
Simply lift the barrel upwards and out of the lower receiver.
-
Be careful not to lose the bound shown.
-
-
-
To remove the hop-up and inner barrel from the outer barrel outset remove the Phillips screw shown.
-
Once that screw is removed you can slide the hop-up and inner barrel out.
-
The hop-upwards unit of measurement is a mollusk trounce design then by removing the screw at the top the hop upward splits into two and grants you lot admission to the bucking and barrel.
-
-
-
You tin split the hop-upwards halfs.
-
Brand certain that you practice not lose the small hop-up nub that fits into a pigsty in the bucking.
-
You can now remove the bucking from the butt.
-
-
-
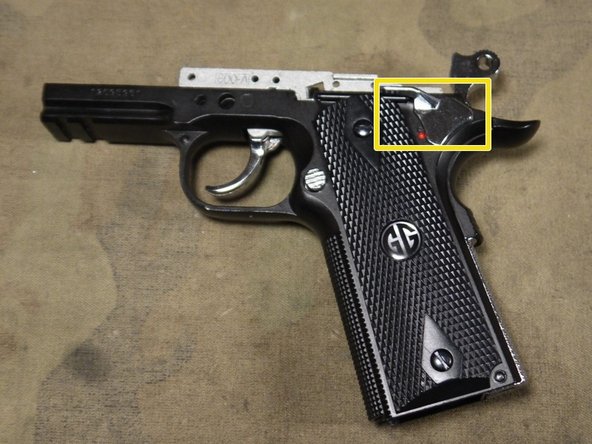
To remove the trigger grouping outset push button out the mag take hold of with a punch tool.
-
Then remove the Phillips screw at the back.
-
Now pull out the safety lever one time the screw is removed.
-
-
-
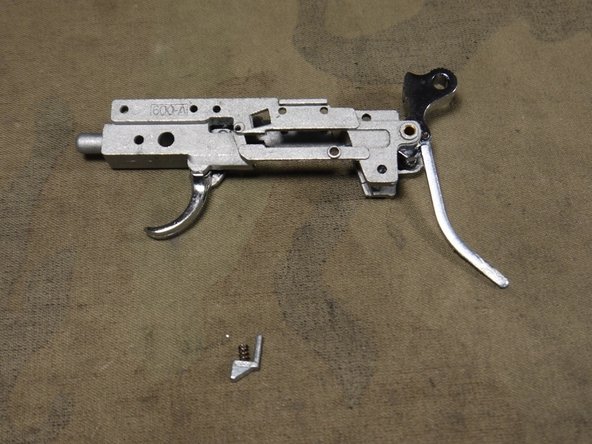
Now the trigger grouping can be removed from the body and your disassembly is complete.
-


Almost washed!
To reassemble your device, follow these instructions in reverse order.
Conclusion
To reassemble your device, follow these instructions in contrary social club.

0 Comments
How to Take the Slide Off an Airsoft Gun
Posted by: laycourstered79.blogspot.com
0 Response to "How to Take the Slide Off an Airsoft Gun"
Post a Comment